Quote for the Day:
"I have not failed. I’ve just found 10,000 ways that won’t work."
~ Thomas Edison
Well...I finally gave in and did it...
I joined Pinterest. I said I wouldn't because I didn't need one more internet thing to take up my time, but I do like having a way to save ideas, recipes, quilt inspiration, etc., without having to "bookmark" everything.
So there you have it...I'm weak...what can I say? LOL
Anyway, on to today's post...
One of the things I had pinned was about using baking soda to clean an oven door. Well...no time like the present to try it out and share with my blog readers, right?
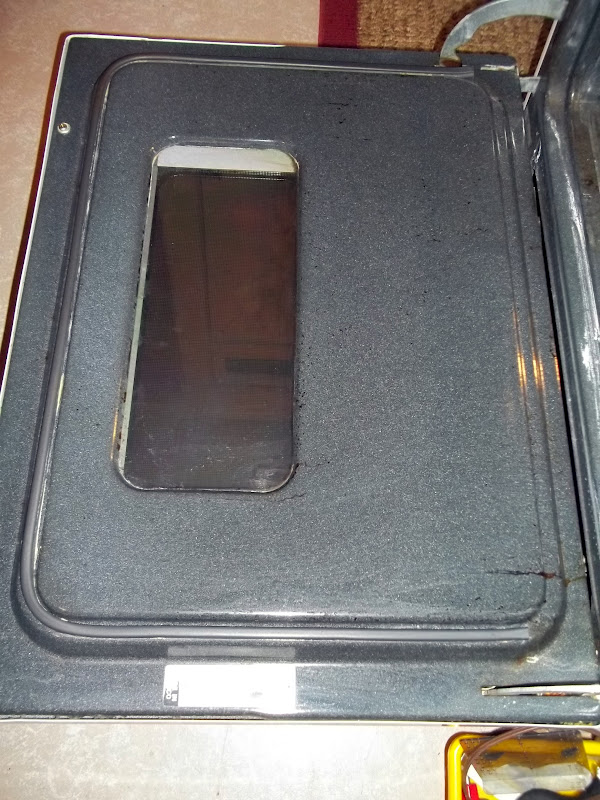
Exhibit A: dirty oven door...
Yeah, I know...NASTY! So I made the baking soda and water paste like the instructions said:
...and slathered it on the oven door and set the timer for 15 minutes.
After the 15 minutes I wiped it down and it looked like this...
Not much improvement. :(
So I decided to redo it, except that this time I added 3 squirts of Dawn dish detergent to the baking soda and water paste. Again, I slathered it on the oven door and set the timer for 15 minutes.
After wiping it down a second time it looked like this...
Better, but still not CLEAN.
Finally, I resorted to THIS...
That's right...EASY OFF oven cleaner!!!
And now the door looks like THIS:
Sparking clean!!! (Except for that one area on the lower right hand side...but that is my fault for not spraying enough of the Easy Off in that spot...I was too worried about over-spray getting on the floor.)
So in my humble opinion, the baking soda and water, and even Dawn, were a FAIL.
I guess there's a reason that Reckitt Benckiser has been making Easy Off Oven Cleaner for so long now...it WORKS! :)
Now, onto my next project for today...
Exhibit B: ugly sewing chair...
I bought this office chair second-hand 13 years ago for $2.00. It was stained then, too! LOL I tried to use upholstery cleaner on it when I first got it, but it didn't come clean. Then I thought that one day I'd paint the fabric. (YES, you CAN paint fabric!)
But, alas, yesterday I noticed a hole starting on the corner of the seat. :(
Not even painting could help this chair now. **cue sad music**
Sigh. What IS a girl to do???
Well...make a cover out of the selvages she's been saving!
"What", you ask, "are 'selvages'"?
Thanks for asking! I'll tell you! :)
According to Wikipedia:
The selvage (US English) or selvedge (British English) is the term for the self-finished edges of fabric. The selvages keep the fabric from unraveling or fraying.
Basically, it is the strip that runs down both sides of the fabric that holds the fabric on the loom as it is being made.
It has a different "feel" and does not shrink the same way the rest of the fabric does, thus making it non-useful to quilters and sewists. The selvage frequently contains the name of the fabric company, the name of the fabric line, the designer, and color dots for each color that is used in the fabric. (BTW, for quilters that are not confident in their ability to pick fabrics that go well together, you can look at those dots on the fabrics you are considering, and if several of the color dots are the same in the different fabrics, they will work well together. I won't even charge you extra for that little "tip"!)
Since the selvage is not used in a quilt, it is cut off and discarded by most people.
But you already know that I'm not like "most" people.
Yes, there is a small subsection of quilters that save the selvages and use them in special "selvage" quilts and other projects. In fact, there is a whole blog devoted to projects that can be made with selvages, "Selvage Blog". :)
This is my basket of selvages before I started this project:
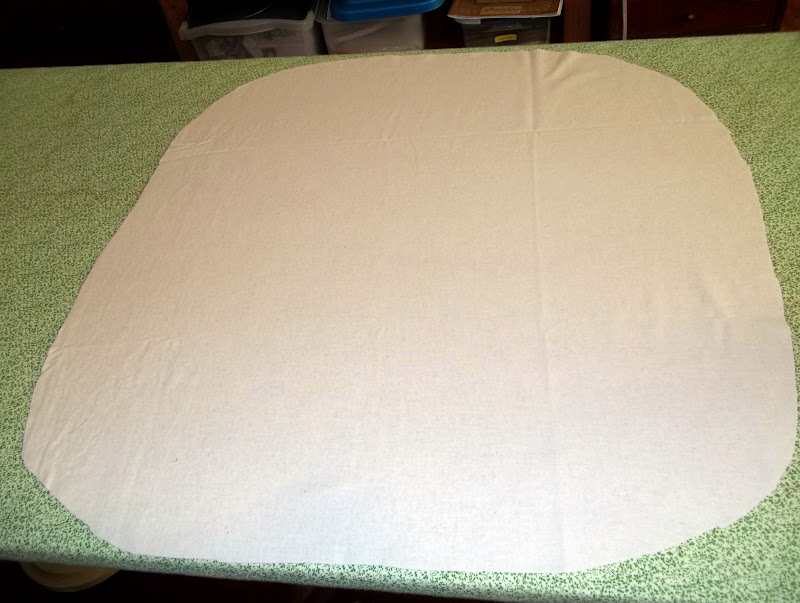
First, I cut a piece of muslin in the shape of the seat and added the extra inches that I would need to cover around to the bottom of the seat.
Then I sewed selvages onto it in strips. Since one side of the selvage is already "bound" and will not ravel, you can take the strip and lay that bound side over the exposed thread side of the previous strip and sew it down. You've now covered the raw edge with the bound edge.
After covering the entire muslin seat cover, I covered the seat and attached it by stapling it to the underneath of the seat. I then made muslin cutouts to cover the back of the chair. However, because the back is unwieldy because of the hardware behind it, I simply made a slip cover and tied it with ribbons underneath the back rest.
TA-DA...
Cool, huh??? I like it!
Oh...and the basket of selvages didn't seem to go down at all! I guess I'll have to find more projects to make with them. I'm liking this basket, for one...
Stay tuned! LOL
Loretta