Quote for the Day:
“Use it up, wear it out, make it do, or do without.”
~Boyd K. Packer
“Use it up, wear it out, make it do, or do without.”
~Boyd K. Packer
Friday evening, Andy & I finally finished putting the Ikea cabinets together for the sewing room. There's just one "little" issue...

When Andy put the backing board on the middle, open cabinet, he put the backing board on backward so the brown faces the front and the white faces the back. :( (He also put one of the permanent shelves on backwards on one of the cabinets with doors, so that the bare wood was facing the front...I had to grab a small paint brush and my trusty white paint and paint that part up.)
Now, putting the backing board on backwards is not *totally* his fault, though he didn't notice it until everything was on and nailed into place. However, unbeknownst to us, that packaged was damaged and the only piece that was damaged was the white side of the backing board. So even if he had put it on correctly, there would have been an issue with it. I didn't want to paint the backing board because it has a very glossy finish and would have had to been "de-glossed", then primed, and then painted...and I just didn't have the stamina or time to do all of that.
Okay...what to do???
Pinterest to the rescue!! :) I had seen some "pins" where people had posted pictures of cabinets and shelving units where the back board had been covered with either fabric or pretty scrapbooking paper. Since I would NEVER part with my precious fabric for that use, I decided to check out the scrapbooking paper supplies when I was in Joann's yesterday. Lucky for me I found a "book" of paper on the clearance aisle...180 coordinating sheets for $8.97!!! SCORE!
Pinterest to the rescue!! :) I had seen some "pins" where people had posted pictures of cabinets and shelving units where the back board had been covered with either fabric or pretty scrapbooking paper. Since I would NEVER part with my precious fabric for that use, I decided to check out the scrapbooking paper supplies when I was in Joann's yesterday. Lucky for me I found a "book" of paper on the clearance aisle...180 coordinating sheets for $8.97!!! SCORE!

I save my used rotary blades that are too dull for fabric, and an extra rotary cutter to cut paper with, so I pulled them out for this task.

I also pulled out my can of spray adhesive and got down to business!
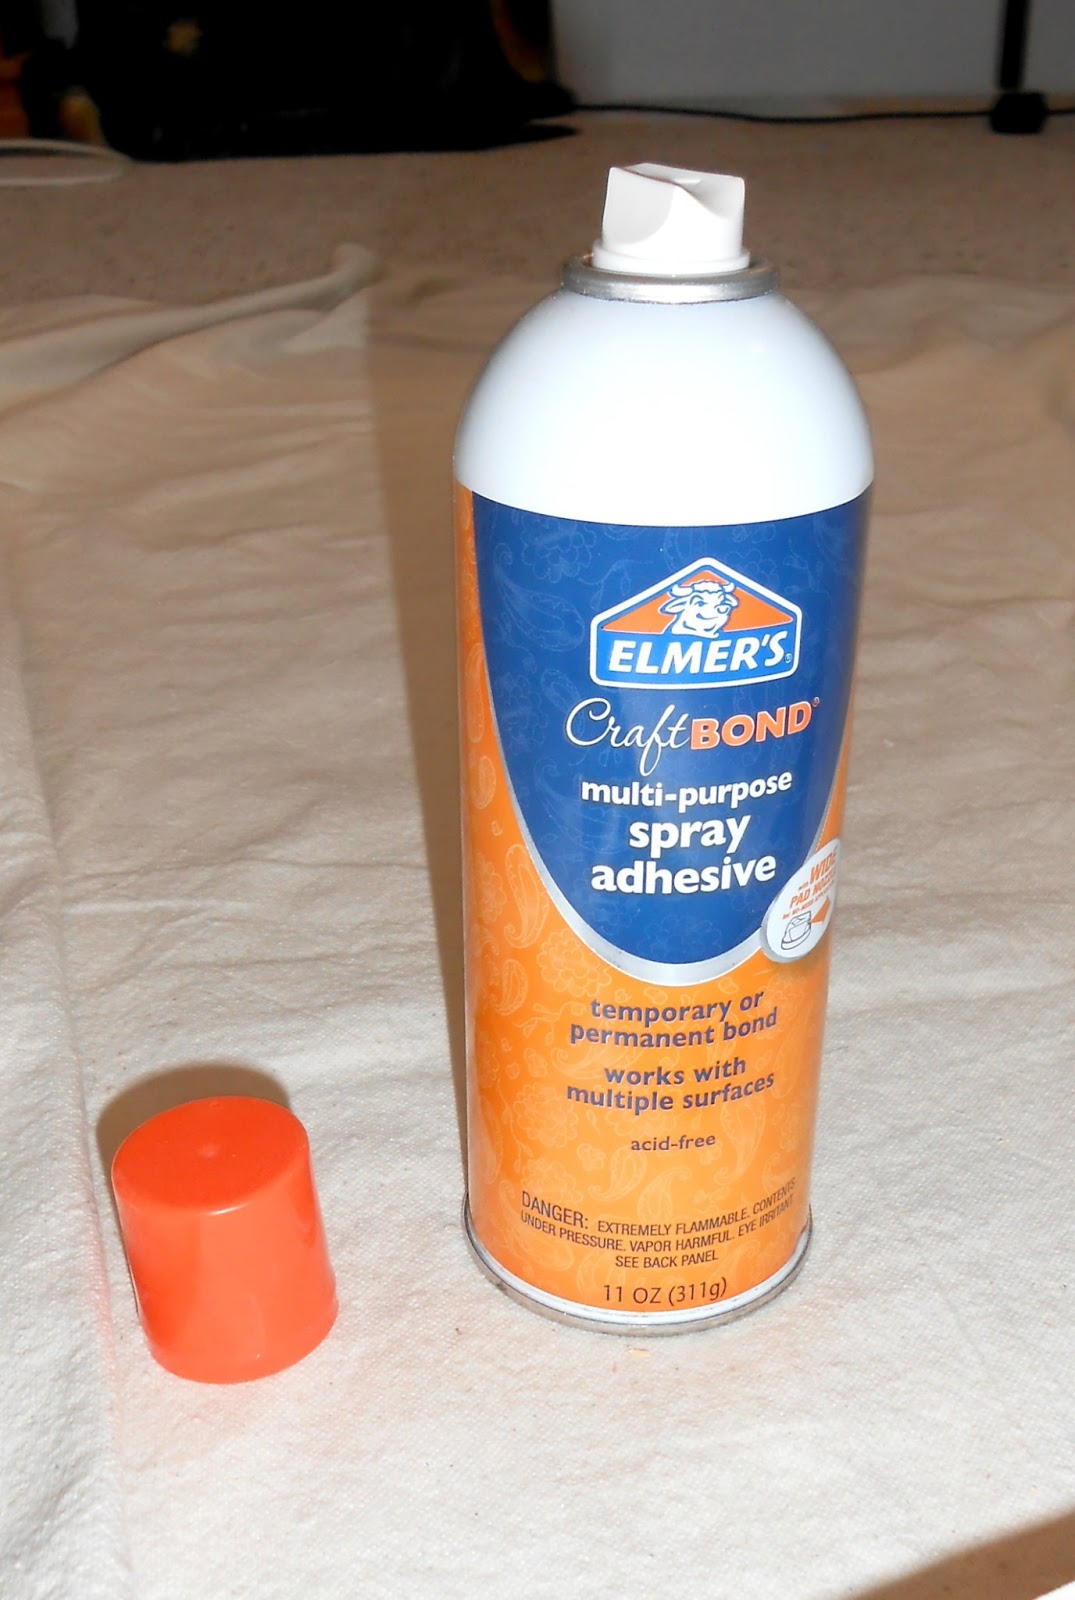
Just cut the paper to fit, spray the back of the paper with the adhesive, and apply paper to the backing board. Easy peasy!
And this is what the open shelving unit looks like now...

Here's a close-up of the top three shelves...

...and of the bottom three shelves...

No more ugly brown backing board! YAY!! :) I think it's just the right amount of "girly"! Erin says it adds a "shabby chic" look to the room! Win-win!!
I plan to use more of the paper to dress up the room as we go about pulling the room together this week, so check back for more updates! :)
Loretta
How absolutely ingenious! Great fix, and it looks like it was made that way to begin with! Can't wait to see the final outcome of your new sewing studio!
ReplyDeleteGreat save! Pinterest is handy, isn't it? Can't wait to see your entire room.
ReplyDeleteThat's so cute! Very good job!
ReplyDeleteGreat solution and a great look! Those shelves are so pretty now you won't want to fill them with fabric.
ReplyDeleteI like it! It is fun to make do, when things are not perfect :)
ReplyDeleteO wOw! the prettiness and Cleverness is much better than a white painted background! It looks awesome, adorable, and Inspiring! That was the luckiest slip-of-the-hammer-&-nail i ever saw!
ReplyDeleteThanks for sharing :)